Use the spell check feature
Word comes with the ability to check your spelling. You may have already noticed that words it doesn’t recognise are underlined with a wavy red line.
In the example document, there are lots of red lines. That’s not uncommon in documents that feature other languages, made-up names, and technical terms.
If you right-click on any of the underlined words, you’ll see suggested spelling corrections. If you’ve misspelt a word, you can simply click on the correct spelling and it will change automatically.

Ignore All
You can also choose “Ignore All”. This will, just for this one document, ignore all instances of this word. It might make sense if you’re working on a document where there is a strange word, but you’re not going to keep encountering that strange word in other documents. (Perhaps it is an acronym or a foreign word.) If you click “Ignore All”, every instance of that word will stop being underlined.
Practice point: Right-click on the word “Toph” (which will be underlined in red) and choose “Ignore All”. Notice how all the other instances of the word “Toph” stop being underlined.
Add to Dictionary
Another option is “Add to Dictionary”. This will add the word to your proofing dictionary, so that it won’t be underlined in other documents either.
Spell check the entire document
Click on Review > Spelling and Grammar. This will open a spellcheck, which will run through the entire document looking for spelling and grammar errors.

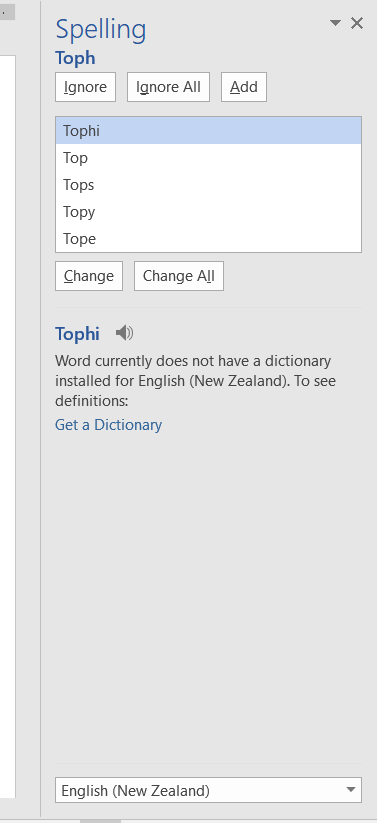
For each unrecognised word, you can Ignore, Ignore All, Add, Change or Change All.
- Ignore = ignore just this one instance of the word
- Ignore All = ignore all instances of the word
- Add = Add to Dictionary
- Change = change just this one word to the one you’ve selected from the suggestions
- Change All = change all instances of the word to the one you’ve selected from the suggestions